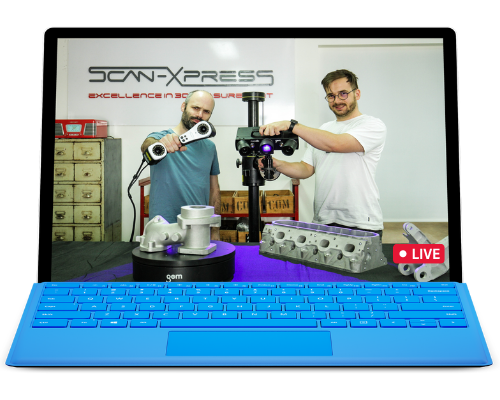
Utilising modern metrology solutions, Scan-Xpress helps engineers and product designers reduce design iterations via reverse engineering as well as measuring prototype or final product quality. Having access to accurate tools enable you to capture full field 3D data which helps to optimise design and certification processes to ensure final product meets quality and tolerance requirements.
Optimise your design process by combining optical metrology with ZEISS Reverse Engineering or Geomagic Design X software enabling you to efficiently capture accurate digital twins and reverse engineer parts or assemblies.
By pairing 3D scanning reverse engineering with 3D printing and additive manufacturing, you can quickly prototype and build minimum viable products enabling you to go-to-market and perform usability testing faster with lower costs.
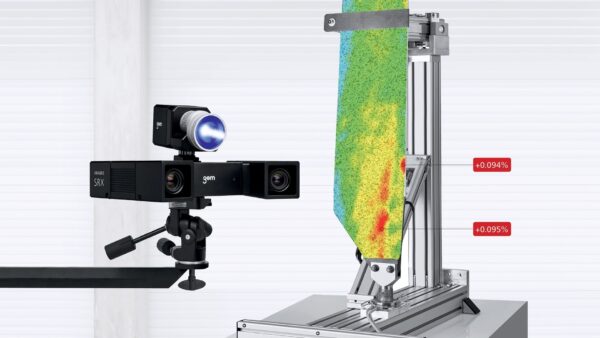
Using ARAMIS 3D Camera systems coupled with GOM Correlate DIC software; analyse motion, displacement and stress/strain data in 3D. Applications include materials engineering, impact and manufacturing process testing.
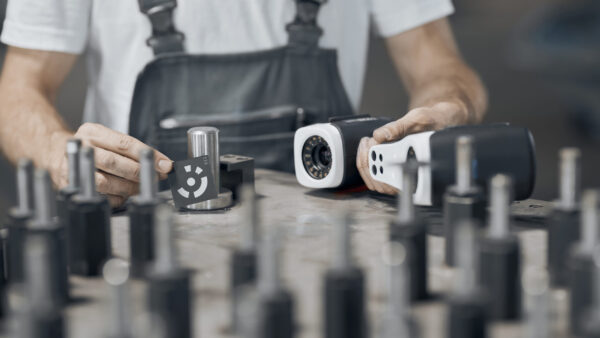
Use 3D scanning to accurately measure components or assemblies, compare to CAD data, and quickly detect defects. Optical metrology coupled with GOM Suite software enables automation and easy pass-fail analysis of incoming parts.
Want to book a demo or discuss your project?
Featured Design & Engineering Applications
3D scanning for Turbine Maintenance
Energetic Machinery in Belgium utilises GOM 3D scanners, photogrammetry and reverse engineering solutions in maintenance and repair applications of industrial turbine systems.
Reverse Engineering CNC Parts for Production
Using 3D scanning, we performed a CNC component redesign project by accurately creating a digital twin and reverse engineering for production. We used our latest scanning solution – the GOM Scan 1 – to perform this project.
Aerospace Restauration using 3D scanning
Raymond’s Aircraft Restoration; restore, maintain and rebuild vintage aircraft. Get a glimpse of their passion and strong dedication to quality and precision – assisted by 3D scanning to reproduce missing parts.
ARAMIS Materials & Manufacturing Process Testing
The Deakin University – Institute of Frontier Materials (IFM) is a research centre specialising in materials research and testing. They use the ARAMIS 3D Camera for digital image correlation testing in materials research and manufacturing process design and testing.


