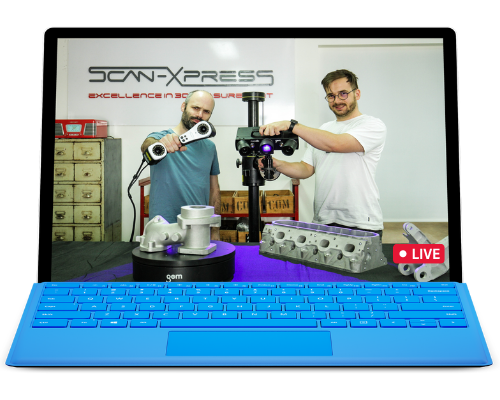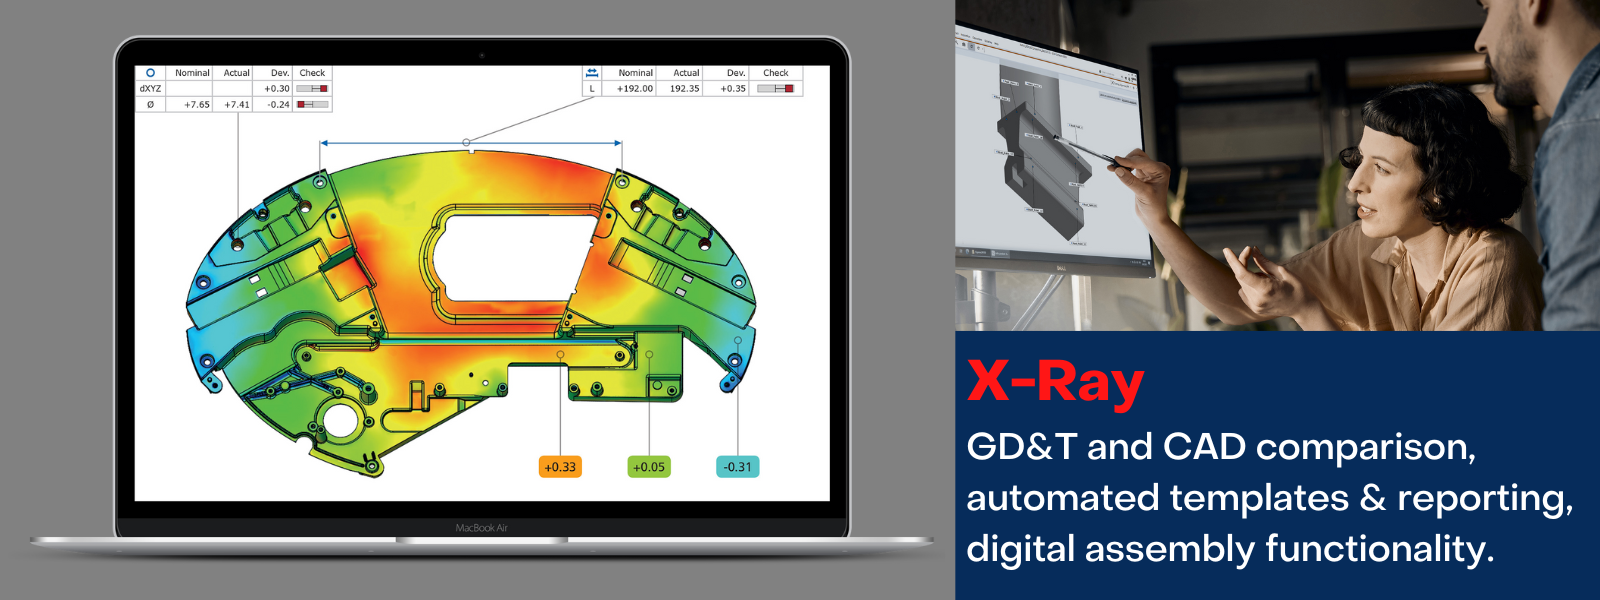
Visualise and analyse your parts down to the inner core using CT data. No matter which CT hardware you use, the powerful ZEISS INSPECT software will help you visualise and analyse the data. Evaluate defects, structures, and assembly situations, and bundle your results in easy-to-understand reports – even with video.
ZEISS INSPECT Highlights
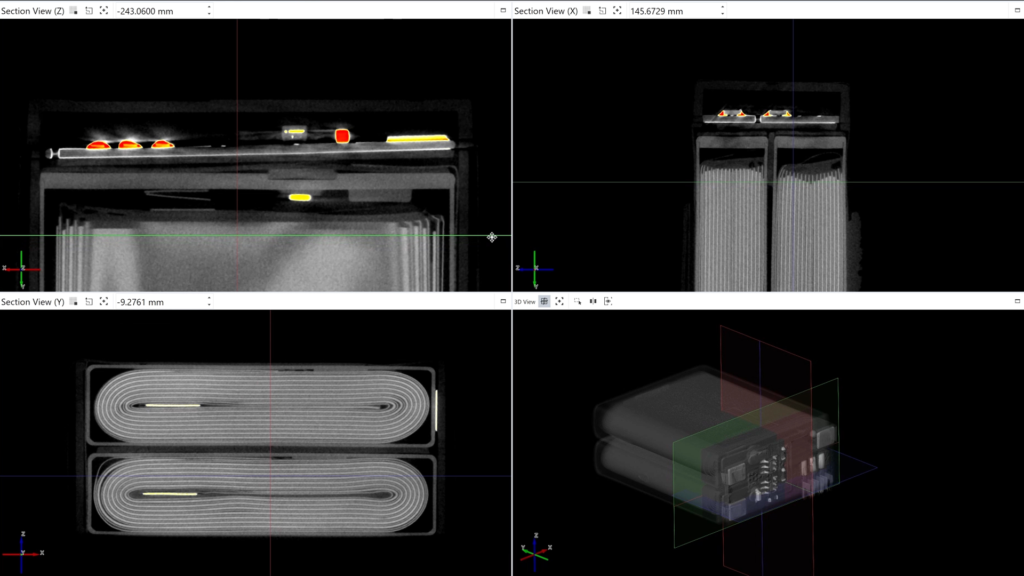
Better orientation through Multiview
The UI software can be divided into several work areas; enabling movement through different perspectives. Sectional views can be combined with 3D representations, tables or other views – dependant on requirements and personal preferences. All working areas enable surveying or inspection of defects elevating the ‘Multiview’ experience.
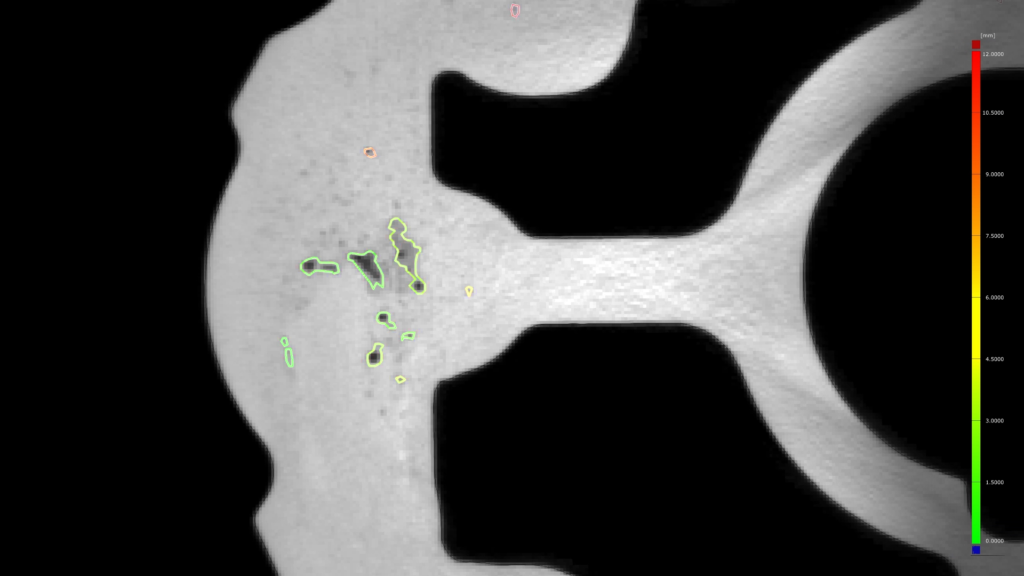
Detect defects in 2D and 3D
ZEISS INSPECT efficiently evaluates pores or inclusions regardless of whether data is optimal or not. If there is a requirement for a special evaluation e.g. P203 or P202, these functions are available as a supplementary app which can be installed at a later date.
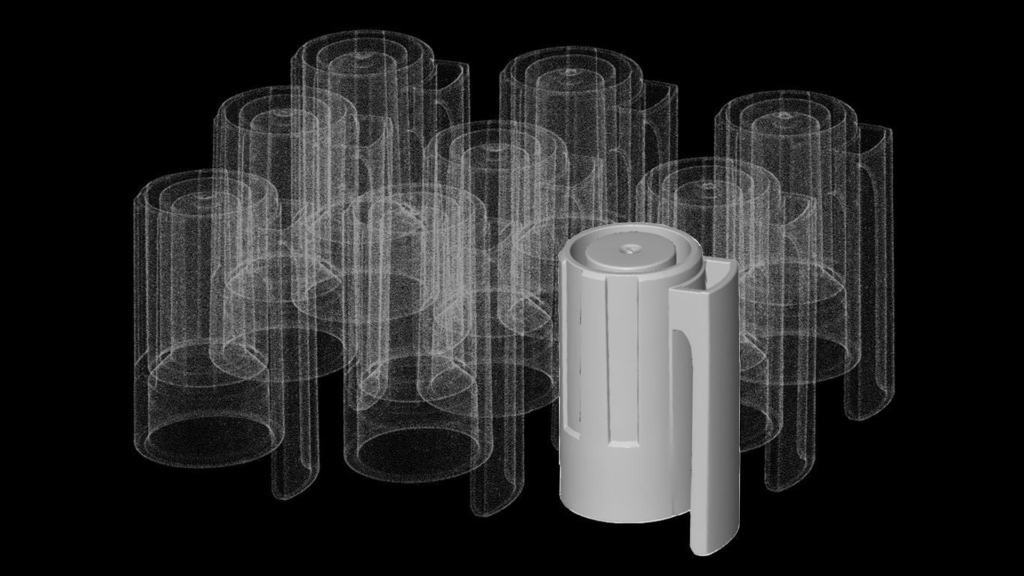
Batch scan for increased efficiency
The CT scan of individual parts is time consuming. Increase efficiency by scanning several parts of a series simultaneously, separating them afterwards via the software, with automatic evaluation.
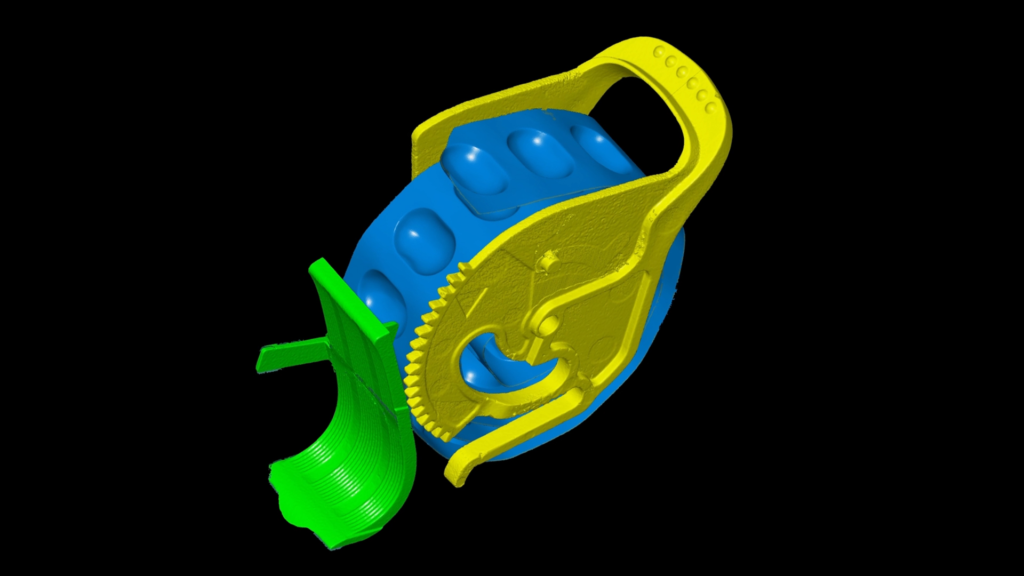
Treat different part sections individually
Division into different regions can be beneficial, especially when analysing complex parts consisting of several elements. This enables the user to digitally undo the assembly and analyse different areas with individual tolerances in each case – thereby saving considerable time.
Featured Applications
Using the GOM Scan 1, we performed a 3D scan of a classic Ford Falcon hood scoop. We reverse engineered and modified its geometry and length to allow our client to add some power to his engine.
Using the GOM Scan 1, AESUB and Delta WASP 3D printers; we scanned, reverse engineered and manufactured a complex object, showcasing how 3D scanning and 3D printing can be used to solve design and manufacturing problems.


