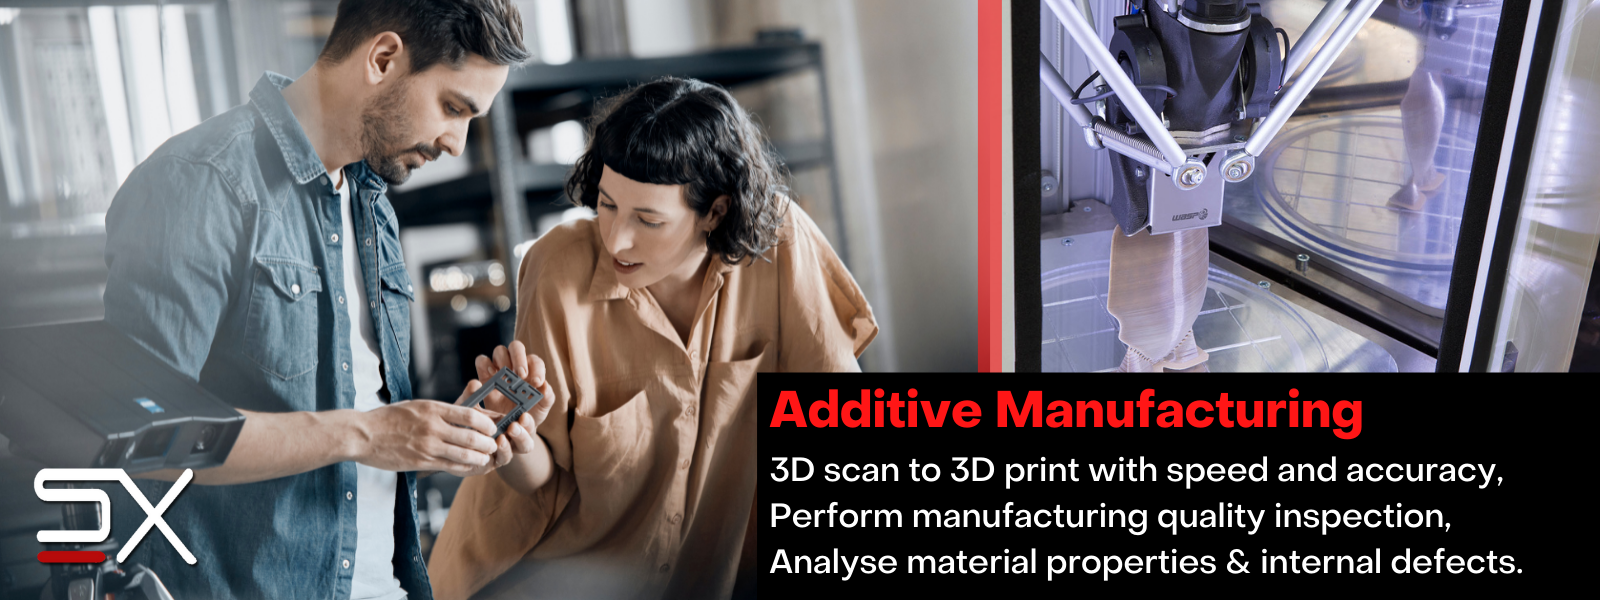
Utilising modern metrology solutions; Scan-Xpress helps additive manufacturers inspect components, measure quality, digitise results and reverse engineer. Having access to accurate tools enable you to capture full field 3D data, which helps optimise additive manufacturing processes and ensure production meets required quality and tolerances.
Below you can find out more about how Scan-Xpress can help measure manufacturing quality and reverse engineer production ready CAD data.
Use 3D scanning to accurately measure components or assemblies, compare to CAD data and quickly detect defects. Optical metrology coupled with GOM Suite software enables automation and easy pass-fail analysis of incoming parts.
By pairing 3D scanning, reverse engineering with 3D printing and additive manufacturing, you can quickly prototype and build minimum viable products enabling you to go-to-market and perform usability testing faster with lower costs.
Use ZEISS CT and X-Ray measurement machines in conjunction with microscopy and 3D scanning to perform holistic inspection of your additive manufacturing process every step of the way detecting material integrity, internal and external defects.
Scan-Xpress is the Victorian reseller and service bureau for WASP 3D Printers. Great for prototyping and large object 3D prints, they enable fast printing in materials including: PLA, PETG, ABS, PA Carbon and Clay.
Want to book a demo or discuss your project?
Featured Additive Manufacturing Applications
DESIGN & PROTOTYPING APPLICATION
Using the GOM Scan 1, AESUB and Delta WASP 3D Printers; we scanned, reverse engineered and manufactured a complex object, showcasing how 3D scanning and 3D printing can be used to solve design and manufacturing problems.
Aerospace Additive Manufacturing Quality Check
Using the ATOS Q 3D Scanner; we inspected a Topology Optimised aerospace component – manufactured using advanced additive manufacturing techniques. The use of 3D scanning was advantageous since it allowed our customer to perform critical quality control checks on the complex, free form surface.


