For a long time, the reference for quality inspection and tolerance checks in manufacturing has been using CMMs with tactile or optical sensors to evaluate the contours of components and assemblies. In the last 10 years, advancements in technology and AI-lead programming by leading German manufacturer GOM have enabled a new type of optical measuring tool to emerge as the reference across all industries – the 3D scanner. This tools has now become the new reference for quality control applications due to its flexibility, speed and accuracy. In this article we will demonstrate the benefits of GOM optical metrology systems showing why they are the best solution for solving the majority of your quality inspection and reverse engineering challenges.
3D scanning saves you time & money period!
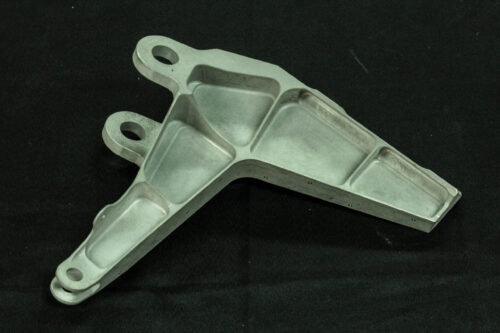
The main and most obvious benefit to 3D scanning is that it simply takes less time…a lot less! To demonstrate this, we have asked one of our metrology professionals to estimate the time spent to measure the precision machined aerospace bracket shown on the right. The table below offers a side by side comparison of 3 typical measuring methods: manual tools, CMM and 3D scanning.
Note this exercise is for illustrative purposes only; true time savings & ROI will vary depending on application complexity, tolerance requirements and processes. Contact us for a more in depth analysis.
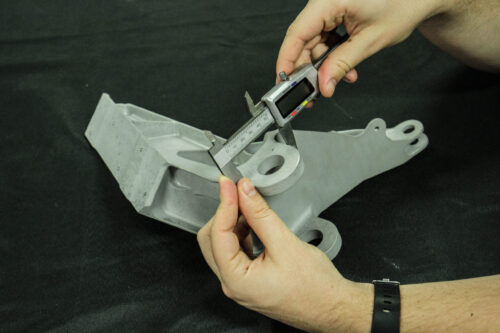
Manual Inspection

Time of inspection:
4 hours

Measurements possible:
Basic point-to-point measurements

Assurance provided:
Unreliable & highly variable

Cost per part (50$/hr):
$200
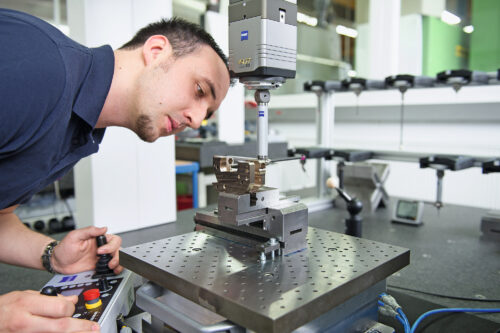
CMM Inspection

Time of inspection:
1 hours

Measurements possible:
Features & surfaces dependent on sensor passes

Assurance provided:
Precise tolerances on specific features

Cost per part (50$/hr):
$50
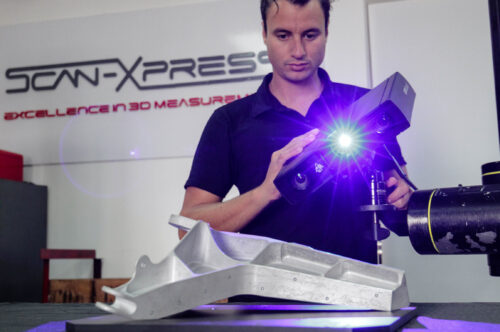
3D Scanning

Time of inspection:
15 minutes

Measurements possible:
Complete component measured

Assurance provided:
Full CAD comparison and GD&T checks

Cost per part (50$/hr):
$12.50
Sample an optical system inspection report
Fill out the form below to view a sample inspection report of the aerospace bracket displayed in the example above.
Download aerospace bracket report
Potential Quality Inspection Tools
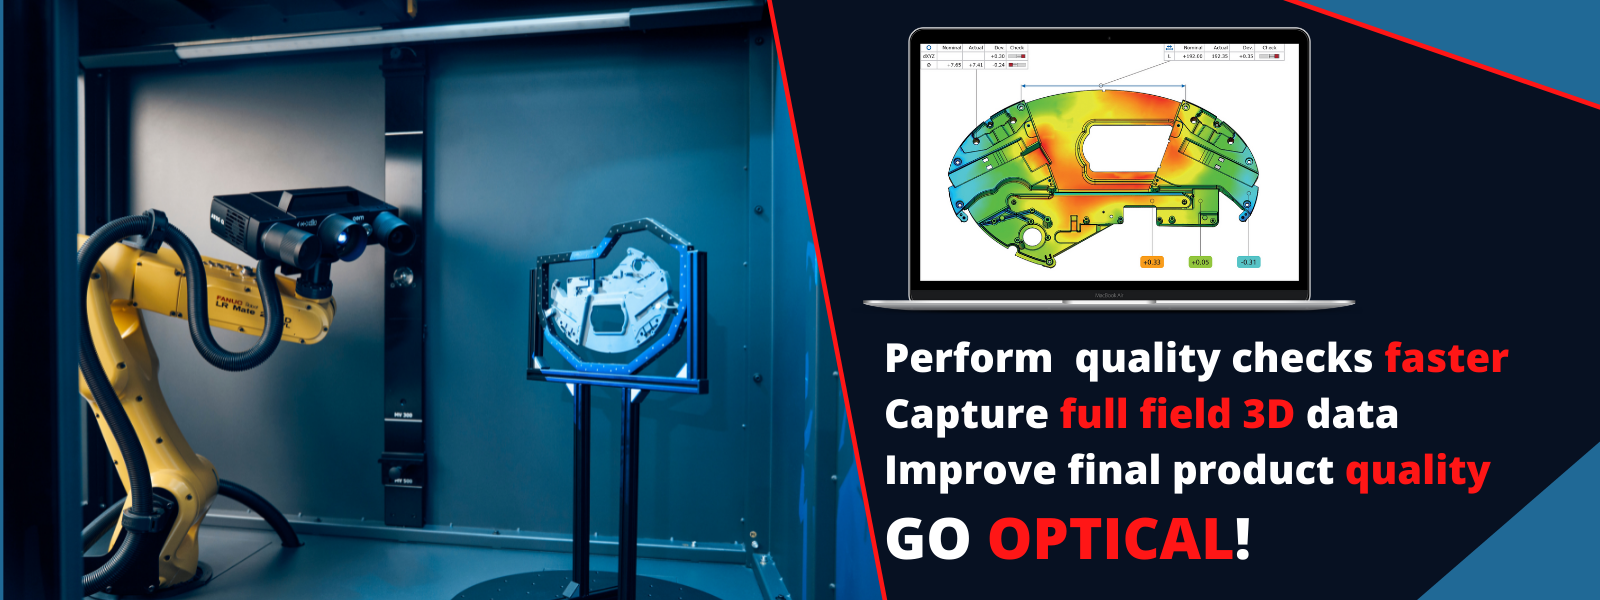
GOM 3D scanners use patterned light projected onto the target object and angled cameras to accurately map surface & feature geometry. Modern advancements in optical technology and software have enabled 3D scanners to achieve tolerances up to 0.01 mm or better – previously only possible on a CMM. In a fraction of the time when compared to using a CMM or manual tools; a 3D scanner can accurately map an entire object, perform tolerance checks and compare to CAD. Furthermore, captured data can be used to reverse engineer to CAD.
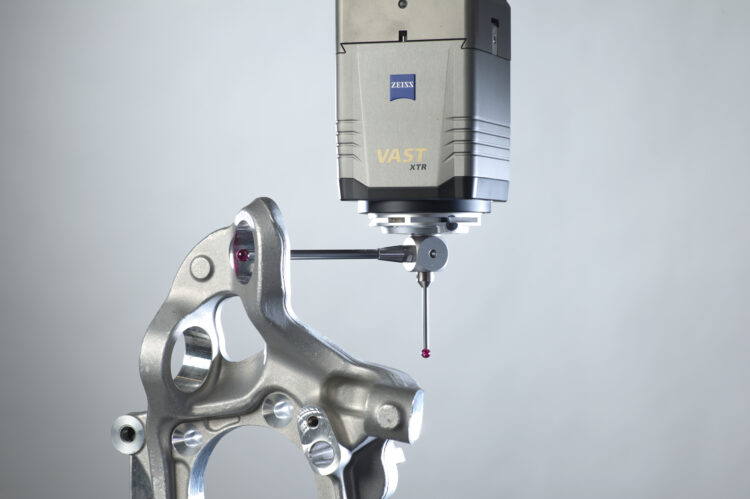
ZEISS CMMs or coordinate measurement machines offer great precision and reliable results. They utilise contact or optical sensor to measure specific features or surface geometries. Repeatability of the measurement is also assured since CMMs are highly precise, automated machines that remove human error and provide digitized results. CMMs are therefore great tools for measuring specific features with great accuracy and should be used when faced with specific challenges such as extremely tight tolerances or regulatory requirements.
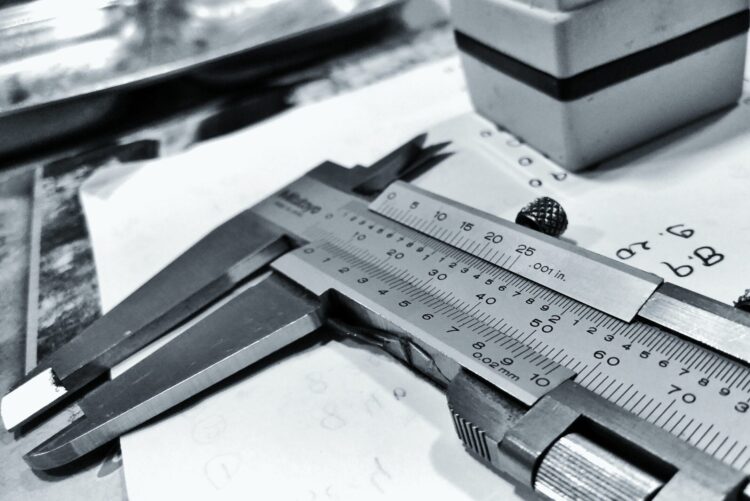
Manual tools such as gauges, callipers, micrometres and profile templates are often used in an attempt to cut costs and save time. Unfortunately, these tools are often highly unreliable and imprecise, relying highly on the operator skill level and deteriorating over time. Furthermore, results are not digitized and require further manipulation to be usable or traceable. Articulated measuring arms are no better as they are often dependent on operator competency for repeatability and process heavy due to complex calibration requirements.
Featured Quality Control Applications
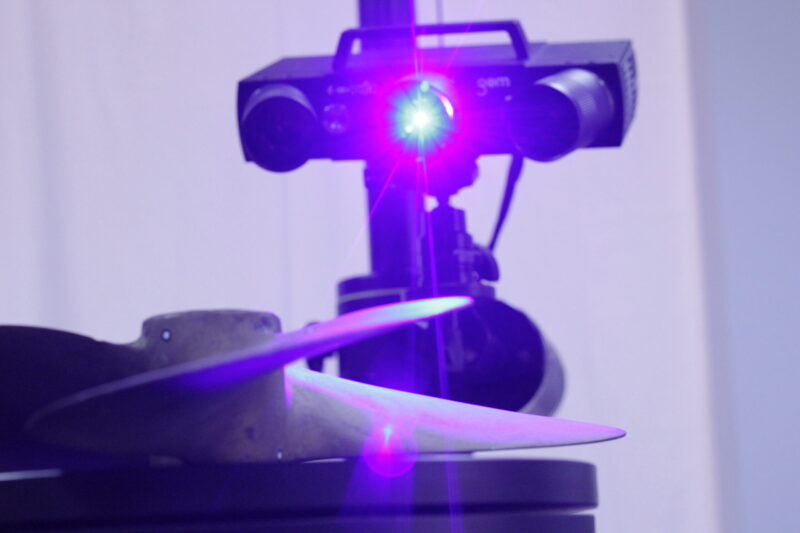
One of our prospective customers was looking to use 3D scanning for marine propeller quality control & reverse engineering . We performed a proof of concept scan using the GOM ATOS Q 3D scanner.
Using the GOM Scan 1, we performed a 3D scan of a classic Ford Falcon hood scoop. We reverse engineered and modified its geometry and length to allow our client to add some power to his engine.


