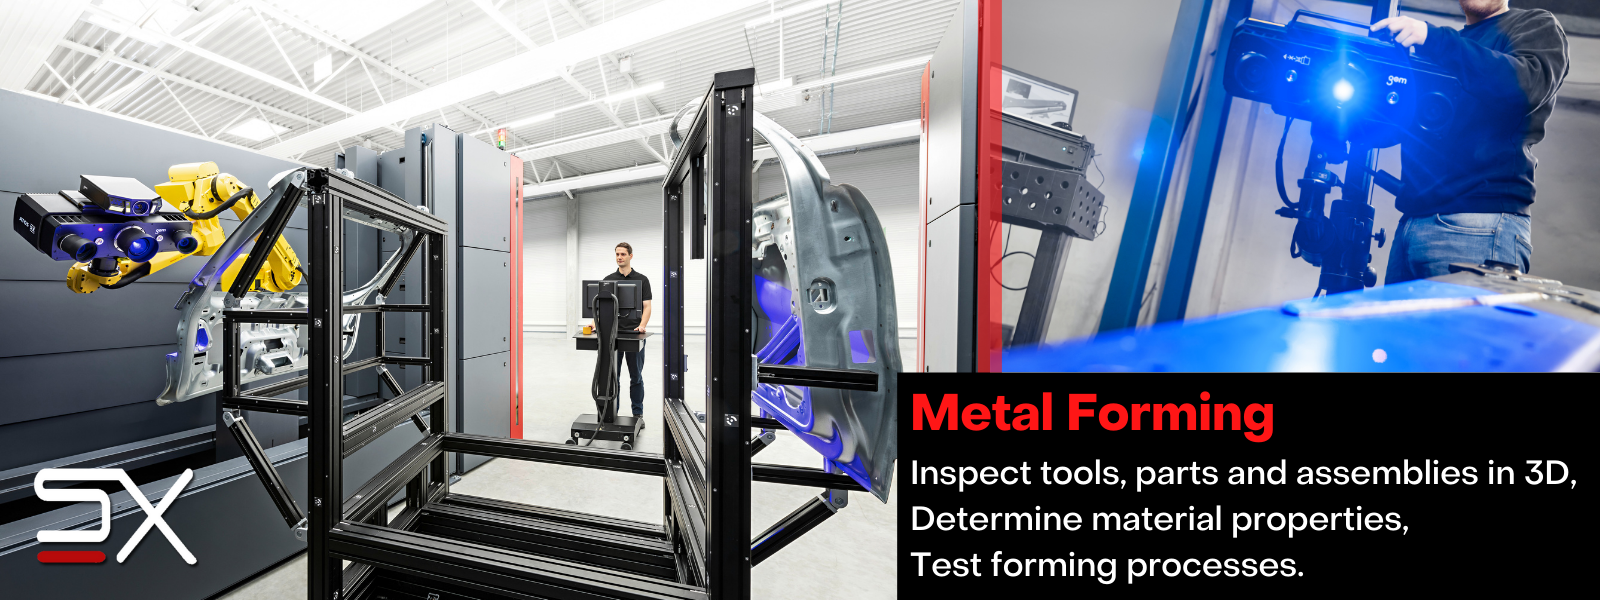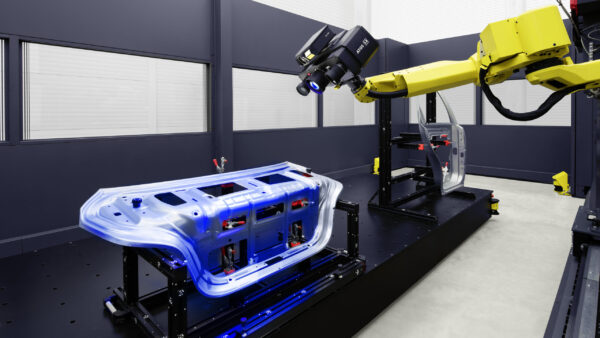
Utilising modern metrology solutions; Scan-Xpress helps manufacturers with: stamping, bending, drawing, pressing and forming process quality assurance. Having access to accurate tools enable you to capture full field 3D data which helps optimise your tool design and production processes. Furthermore, our ARAMIS 3D Camera system can be used to determine material properties and test new forming processes before implementation.
Use 3D scanning to accurately measure metal components, compare to CAD data, and quickly detect defects. Optical metrology coupled with GOM Suite software helps detect manufacturing defects and achieve consistent quality assurance results.
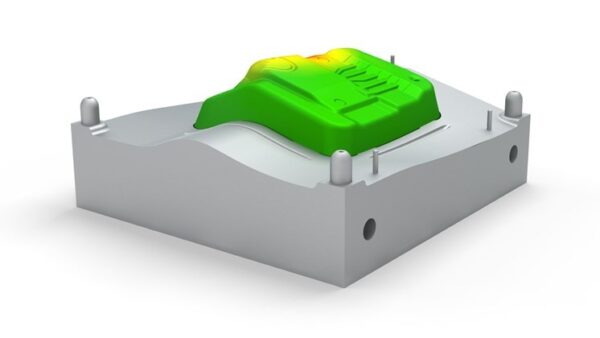
Tool Inspection & Correction
Use 3D scanning to digitise the tool and prototype parts and determine precise values for metal forming tool correction. ZEISS Reverse Engineering tool correction software package can also be used to reduce design iterations using predictive algorithms.
Using GOM 3D scanners and GOM Suite software, you can capture accurate digital twins of your metal components and virtually assemble them accurately predicting component behaviour under stress without complex and expensive fixtures.
Use ARAMIS 3D Camera systems to determine sheet metal material properties with great accuracy. Realistic material properties are a pre-requisite for reliable simulation and optimisation of product variants, tool layout and forming processes.
Want to book a demo or discuss your project?
Featured Metal Forming Applications
Innovation in metal tubing manufacturing
The Fischer Group is a global supplier for stainless steel tubing. Inhale the scent of metal in the air and see how 3D measurement is an essential part of their workflow – ranging from deviation detection to evaluation and innovation.
Metal Forming Industrial R&D
At the Fraunhofer Institute for Machine Tolls and Forming Technology; it’s all about unique clients with unique problems, seeking unique solutions. Whether it’s in the automotive, medical or robotics industry, 3D scanning makes it possible.
Quality assurance using 3D scanning at VW
Volkswagen Commercial Vehicles in Wrzesnia, Poland inspects the all new Volkswagen Crafter vehicles using in-line, automated optical metrology systems. Watch the video above to see how the integration of optical metrology and robotics helps VW perform quality checks with speed and accuracy.
Sheet metal component reverse engineering
Meet Martin from BMA Autosport in Belgium; his car workshop converts street cars into modern rally cars and historical racing vehicles. After stripping a car down to its bare body shell, the BMA team redesigns it into a real hot rod by using 3D models. Watch the video to find out more.


