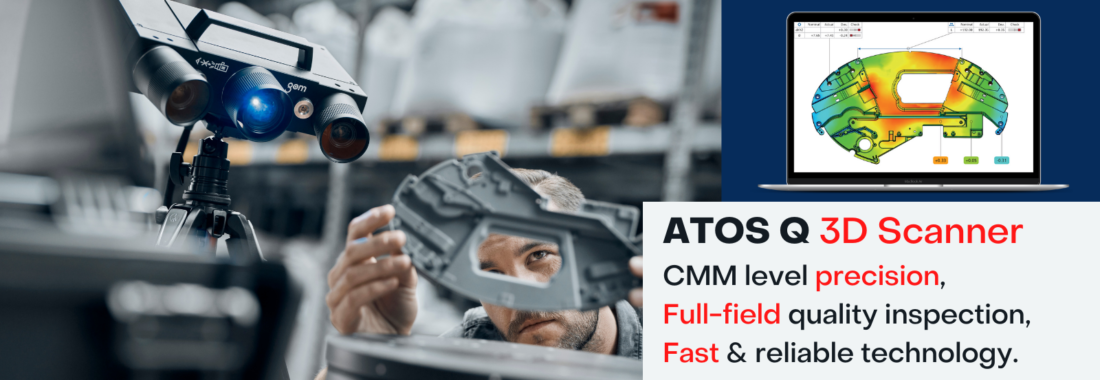
The ATOS Q is a reliable and versatile 3d scanner built for industrial quality control and inspection applications. It is perfectly suited for measuring complex geometries making it ideal for precision machining or additive manufacturing. It comes in a robust package; built to withstand the rigours of shop-floor environments. In addition, it is highly versatile – capable of manual, semi-automated or fully automated operations.
Overview
Design
The ATOS Q is specifically developed for industry use and delivers fully traceable measurement results – even under harsh conditions. The optical and electronic systems of the robust, optical 3d sensor are dust-proof and splash-proof; making all ATOS Q sensors ideally suited for mobile or shop-floor applications.
Technology
The sensor captures quality information quickly and with a high degree of detail, providing the operator with a reliable data for inspection and analysis. Its’ Triple Scan functionality enables the user to obtain accurate data even on reflective surfaces or objects with indentations.
Performance
Thanks to the blue light equaliser and fast data processing, ATOS Q impresses with outstanding performance. The blue light equaliser enables high-speed fringe projection and is so powerful that even on uncooperative surfaces, short measuring times can be achieved.
Modes of Operation

Manual
Weighing in at only 4kgs and boasting a robust casing; the ATOS Q both easily travels and can be mounted on a tripod.

Semi-automated
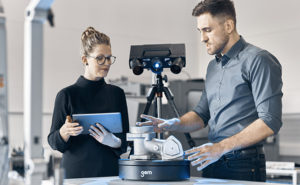
Combined with a rotation table or motorisation kit, inspection operation can be made more efficient.
Technical Specifications
The ATOS Q is available in the 12M and 8M versions. The sensors capture up to 2 × 12 million or 2 × 8 million coordinate points during scanning. The precision, resolution and measuring area size can be tailored to your application.
| ATOS Q 8M | ATOS Q 12M | |
| Light source | LED | LED |
| Points per scan | 8 million | 12 million |
| Measuring area [mm²] | 100 × 70 – 500 × 370 | 100 × 70 – 500 × 370 |
| Point distance [mm] | 0.04 – 0.15 | 0.03 – 0.12 |
| Working distance [mm] | 490 | 490 |
| Weight | approx. 4 kg | approx. 4 kg |
| Dimensions | approx. 340 mm x 240 mm x 83 mm | approx. 340 mm x 240 mm x 83 mm |
| Cable length | 10 m fibre optic cable | 10 m fibre optic cable |
| Operating system | Windows 10 | Windows 10 |
| Measuring volumes | 100, 170, 270, 350, 500 | 100, 170, 270, 350, 500 |
Featured Applications
Amiga Engineering; an Australian-based precision machining and additive manufacturing company, was looking to improve its quality control capabilities – having recently found their CMM system unable to perform certain critical operations.
Scan-Xpress performed a gear quality control test for a prospective customer using the ATOS Q. The results demonstrate that the system can perform precise tolerance checks on complex parts such as gears.
One of our prospective customers was looking to use 3d scanning for quality control and reverse engineering of marine propellers. In this short video, we demonstrate how the ATOS Q scanner can be used to provide full field 3d data capture which enables the comparison to CAD, identifying more defects.
Maker profile: ATOS Q & turbine machinery
Meet Johan, director of Energetic Machinery in Belgium and learn about his passion for industrial steam turbines. The successful implementation of reverse engineering at his company Energetic allows them to offer customers a complete service. Check out their story.


