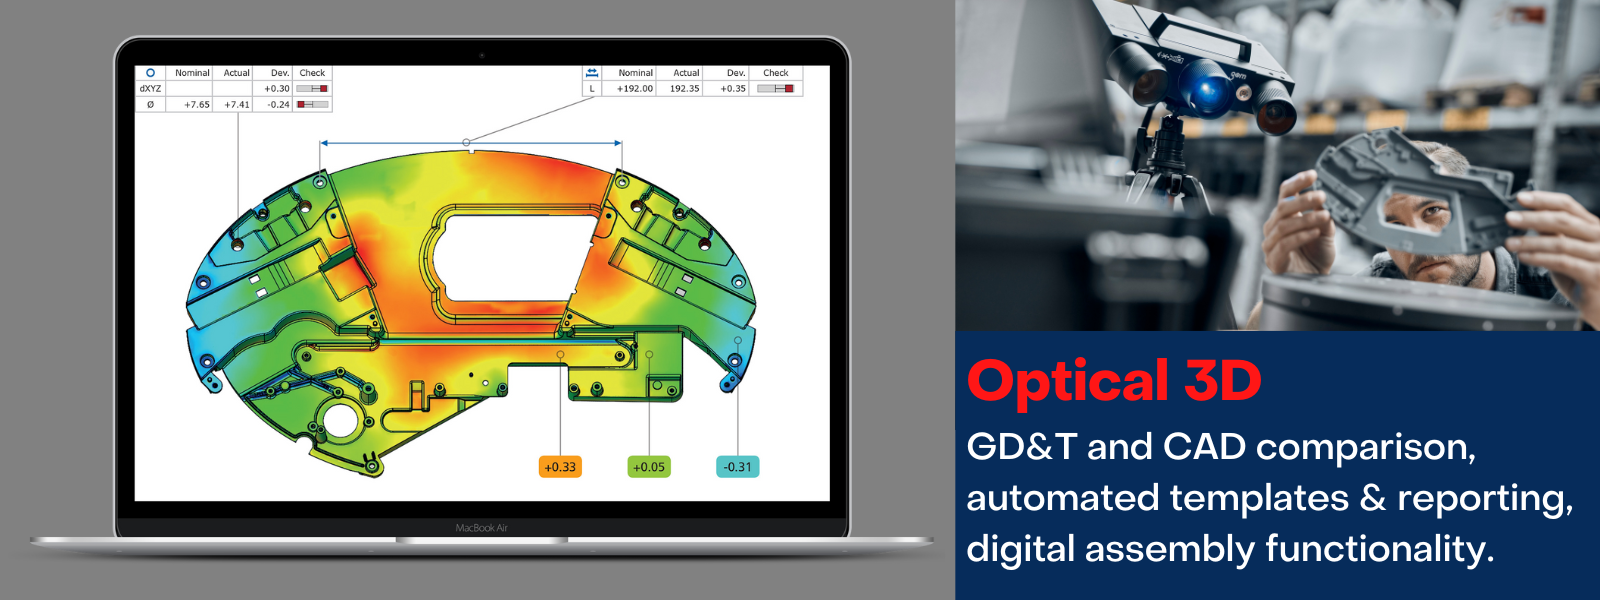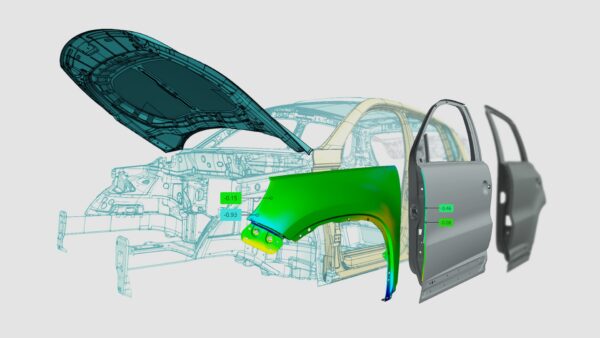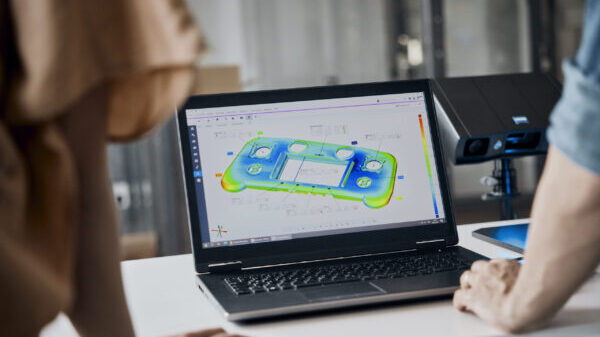
Optical 3D contains all evaluation tools for an extensive analysis of parts and components. The software provides a variety of inspection tools for dimensional analysis of 3D point cloud data from optical scanners, CT scanners, laser scanners, CMMs and other sources. Optical 3D comes by default with ZEISS 3D scanning systems.
ZEISS INSPECT Highlights

Digital Assembly
Do you manufacture your components at different sites? With ZEISS INSPECT’s digital assembly you can easily verify whether the different components match, or which ones have the best-fit (cross-mating).
Reporting & Automation
Use the ZEISS INSPECT report functions to export your results in an easily readable and traceable format. Create report templates to automate reoccurring inspections saving you both time and money during the quality inspection process.
Featured Applications
Automotive Reverse Engineering
Using the GOM Scan 1, we performed a 3D scan of a classic Ford Falcon hood scoop. We reverse engineered and modified its geometry and length to allow our client to add some power to his engine.
Design & Prototyping Application
Using the GOM Scan 1, AESUB and Delta WASP 3D printers; we scanned, reverse engineered and manufactured a complex object, showcasing how 3D scanning and 3D printing can be used to solve design and manufacturing problems.
METAL FORMING INDUSTRIAL R&D
The Fraunhofer Institute for Machine Tolls and Forming Technology, it’s all about unique clients with unique problems seeking unique solutions. Whether it’s in the automotive, medical or robotics industry; 3D scanning makes it possible.
Fast Casting Inspection with ATOS Q
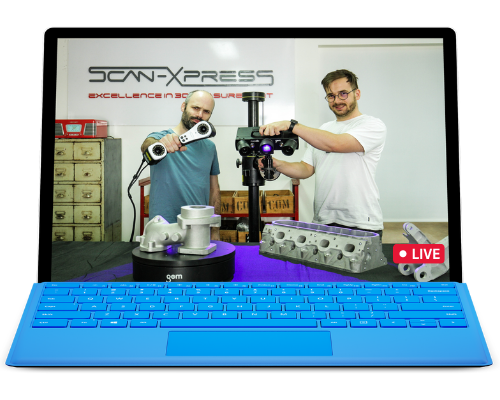
Learn how to perform a fast inspection in ZEISS INSPECT by preparing a project in the inspection workspace, including the pre-alignment of a CAD file and a surface comparison. After the first scan, you can immediately look at the results.


