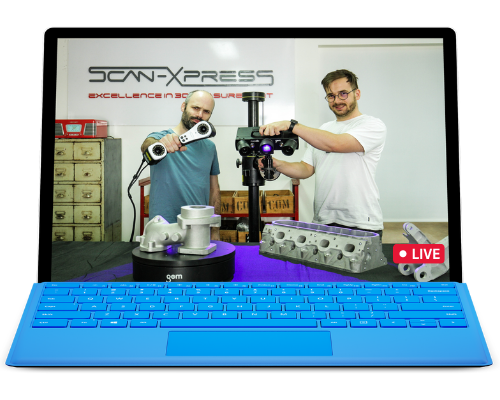
Leveraging modern metrology solutions and digital design techniques, are key factors to success in the precision and CNC machining industry. Having access to accurate tools enable you to measure quality and obtain full field 3D CAD data that will help you optimise your processes and ensure you are meeting your tolerance and quality objectives.
Below you can find out how Scan-Xpress can assist precision machining and CNC manufacturers design new components more efficiently, save money and time throughout the product lifecycle and improve machined part final quality.
Use 3D scanning to capture accurate digital twins of prototypes or precision parts, compare to or reverse engineer CAD data, and quickly perform quality checks or design iterations. Optical metrology coupled with ZEISS Reverse Engineering or Geomagic Design X software offers benefits in time savings throughout your engineering process.
Precision and CNC machining manufacturing requires high throughput and reliable processes that enable you to meet tolerance requirement consistently. Respond to these challenges using GOM 3D scanners and ATOS automation tools which provide you with a solution for fast and efficient quality inspection of precision machined parts.
Use ZEISS coordinate measurement machines (CMMs) to perform precise quality checks for low tolerance CNC machined components. Benefit from best-in-class optical and contact sensors, shop floor capable machines and automation integration.
Use GOM Inspect to perform fast inspection, design automatic quality pass/fail gates and report templates, compare to CAD, and much more! Results are fully digital and traceable for great repeatability and customer reporting.
Want to book a demo or discuss your project?
Featured Precision & CNC Machining Applications
CMMs for Precision Machining Quality Inspection
Basin Precision Machining improves productivity of complex, high-precision parts with several lab-based and shop-floor ZEISS CMMs. ZEISS inspection solutions range from shop floor DuraMax CMMs to a large CONTURA CMM.
Reverse Engineering CNC Parts for Production
Using 3D scanning, we performed a CNC component redesign project by accurately creating a digital twin and reverse engineering for production. We used our latest scanning solution – the GOM Scan 1 – to perform this project.


