ATOS Triple Scan – Optical Blue Light 3D Scanner
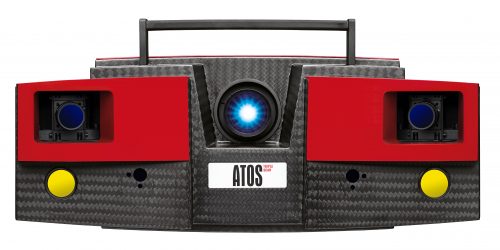
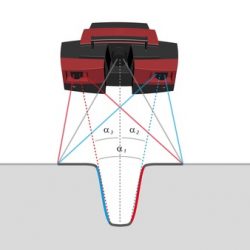
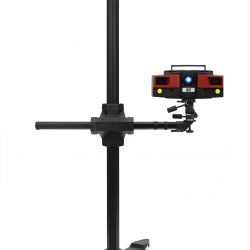
The ATOS Triple Scan is an optical non-contact 3D scanner that is able to measure millions of points upon a part surface using structured blue light. The system operates using advanced projection patterns and calculations in order to produce accurate and precise measurement data for inspection and geometrical analysis. Measurements of shiny surfaces and complex object geometry are both possible with the functionality of the ATOS Triple Scan. Using the cutting edge Triple Scan functionality, the number of scans required to capture data is reduced significantly.
GOM’s new narrow banded projection technology enables precise measurements to be carried out independent of lighting conditions, minimum heat development and low maintenance
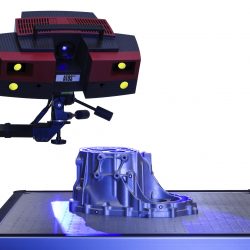
Shiny surfaces such as sheet metal parts and dark coloured tools can be scanned directly using Triple Scan functionality. Complex part geometries are also made easier to scan, with fewer measurements needed to capture the required data for inspection.
The ATOS Triple Scan comes with up to 16 megapixel high resolution, stereo measuring cameras designed specifically for optical measurements. Accuracy, resolution and measuring area can all be modified to suit the application requirements.
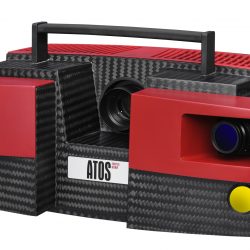
Eliminate travel costs and save time by moving the system to the part. The ATOS Triple Scan is completely portable and can be relocated with relative ease. With the use of dynamic referencing, difficult environment conditions are accounted for to maintain high quality scans.
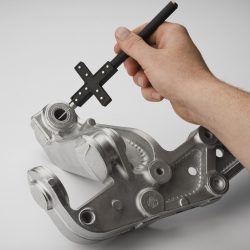
The GOM Touch Probe allows discrete point measurements in conjunction with ATOS Triple Scan measurements for points that are hard to obtain via line of sight issues. The touch probe can be used for online data alignment as well.
| ATOS II Triple Scan | ATOS III Triple Scan | ATOS Triple Scan 16M | |
| Camera Pixels | 2 x 5M | 2 x 8M | 2 x 16M |
| Minimum Measuring Area | 38 x 29 mm | 38 x 29 mm | 170 x 130 mm |
| Maximum Measuring Area | 2000 x 1500 mm | 2000 x 1500 mm | 810 x 610 mm |
| Point Spacing | 0.02 – 0.79 mm | 0.01 – 0.61 mm | 0.03 – 0.16 mm |
| Working Distance | 490 – 2000 mm | 490 – 2000 mm | 440 – 800 mm |
| Measured Points per Scan | 5 million | 8 million | 16 million |
| Operating Temperature | 5 – 40˚C | 5 – 40˚C | 5 – 40˚C |
| Triple Scan | Easy scanning of shiny or dark surfaces and complex parts |
| Blue Light Technology | Scanning independent of environmental lighting conditions |
| Automation Level 1 | Rotation table, linear units, tilt and swivel units |
| Automation Level 2 | Robotic |
| Fast Scanning Mode | Yes |
| GOM Touch Probe Compatible | Yes |
| Sensor Controller | Internal |
Computer Hardware
| High-End PC | Yes |
| Notebook Operations | Yes, for increased mobility |
| Variable Workstation | Standing and Sitting Working Heights |
| Power Supply | 90-230 V AC |
| Cable Length to ATOS | Light Weight Cables up to 30m |